
How To Enhance Your DIY Meat Probe with Voice Control Features
Every culinary enthusiast knows the importance of a perfectly cooked steak, and that’s where a meat probe comes in handy. But what if we could

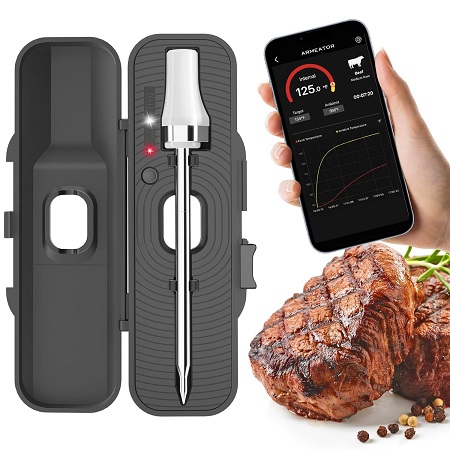
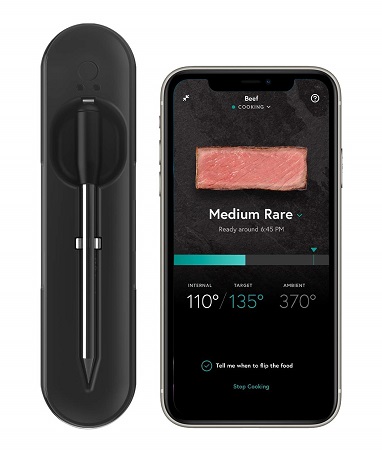
A meat probe with an inserted needle is an indispensable tool for perfectly cooked roasts, hams, and other large cuts of meat.
It allows you to monitor the internal temperature precisely without continuously opening the oven.
However, the small needle and thin probe design that makes it so useful also makes it prone to buildup and difficult to clean.
Over time, the needle can accumulate dried juices, fats, and debris that affect its reading accuracy.
For the most reliable temperature readings and to avoid cross-contamination, the needle and surrounding probe must be cleaned thoroughly after each use.
Follow these steps for cleaning a meat probe needle and probe:
Carefully unscrew the needle counter-clockwise from the installed meat probe base if it is detachable. Set the base aside.
If fixed together, insert a toothpick into the hole at the probe base to block debris during cleaning.
Dip a clean cloth or paper towel in hot, soapy water. Thoroughly wipe down the entire exterior probe surface.
Rinse probe end under hot water to remove soap residue.
Dry completely with a clean towel. Set aside.
Pour distilled white vinegar into a small container, just enough to submerge the needle.
Soak the needle in the vinegar for 5-10 minutes to loosen the debris.
Scrub the needle vigorously with a probe brush under hot water. Focus on the very tip.
Use a cotton swab dipped in vinegar to clean inside the hole at the needle base.
Rinse until all residue is removed.
If any clogs remain inside the hole, use a straightened paperclip, needle, or toothpick to gently unclog.
Submerge the needle tip in hot water and blow forcefully through the hole to clear out debris.
Soak in vinegar again if needed to soften and dissolve blockages.
Mix a sanitizing solution of 1 tablespoon bleach to 1 cup hot water.
Submerge just the needle in the solution for 30 seconds up to 2 minutes.
Rinse the needle tip thoroughly with clean hot water.
Dry the needle completely with a fresh paper towel.
Once fully dry, carefully re-screw the needle back into the meat probe base if detachable.
Place a piece of tape over the jack to keep clean for storage.
Store in a clean, dry location away from moisture and grease.
Precision cooking Debris alters the conduction of heat, throwing off readings.
Food safety Bacteria can spread between meats on dirty needles.
Equipment longevity Regular cleaning removes damaging buildup and corrosion.
Prevent damage Soaking loosens stuck bits that could break needles when scraping.
Accurate diagnostics Help determine if the issue is just buildup vs needle malfunction.
While the meat probe is an invaluable cooking tool, its long thin needle design makes cleaning especially critical.
Allowing food residue, grease, and debris to build up can lead to inaccurate readings and cross-contamination of bacteria between meats.
By regularly cleaning your probe with the proper methods, you can rely on precision cooking results every time.
Taking just a few extra minutes to properly wash, sanitize, and store your probe needle will extend its usefulness and provide you with years of worry-free roasting and grilling.