How To Enhance Your DIY Meat Probe with Voice Control Features
Every culinary enthusiast knows the importance of a perfectly cooked steak, and that’s where a meat probe comes in handy. But what if we could

So you just purchased a Meater Probe wireless smart meat thermometer and now you’re eager to start using this innovative cooking tool.
With Meater Probe’s advanced wireless technology and smart features, you’ll be able to monitor your food’s temperature accurately from your smartphone, ensuring perfect results every time.
This guide will walk you through everything you need to know to get your new Meater Probe probe set up, connected, and ready to revolutionize your cooking.
Before using your Meater Probe for the first time, you’ll need to fully charge the probe. The lithium-ion battery inside the probe will last for 24 hours when fully charged. To charge, place the probe tip down into the Meater Probe charging dock and wait for the LED light on the probe to turn green, indicating a full charge. Expect a charge time of approximately 2 hours.
For the best performance, always store your probe in the charging dock when not in use. The dock is designed to amplify the wireless signal between the probe and your phone for enhanced range.
The magic of Meater Probe comes from its ability to transmit internal food temperature readings wirelessly to your smartphone or tablet. To enable this, you’ll need to connect your probe to the Meater Probe app. Download the app and follow the on-screen pairing instructions.
Make sure Bluetooth is enabled on your mobile device before launching the app. Once connected, your probe readings will display on your phone in real time while cooking. The app works up to 165 feet away from the probe when close to the charging dock.
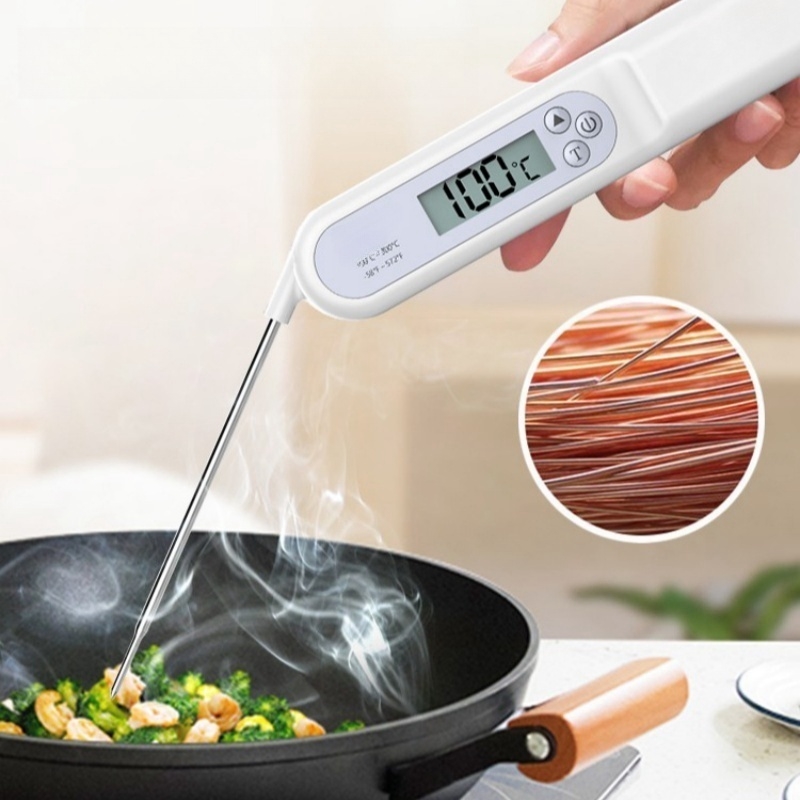
Once powered up and connected, you’re ready to start probing! Insert the tip of the Meater Probe probe into the center of your food, making sure the entire stainless steel spike is inserted. The probe end should be in the coolest part of the meat, away from bone or fat.
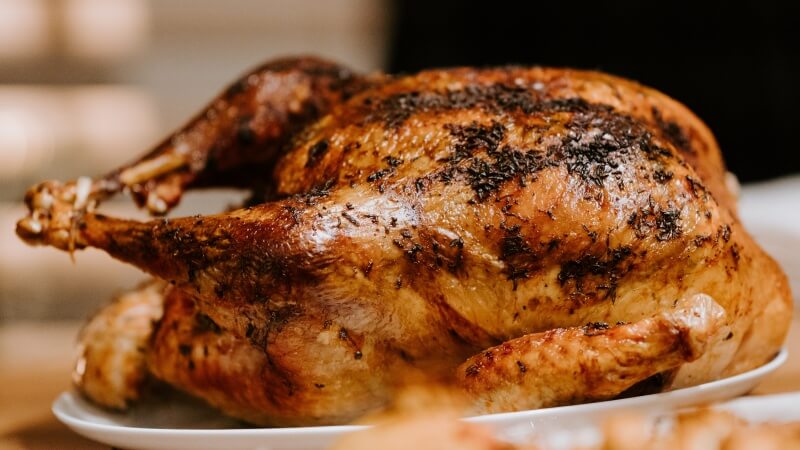
For thick cuts like roasts and whole poultry, insert the probe sideways to reach the true center. The app will provide visual guides to ensure proper placement. Avoid inserting directly next to other meat probes if using multiple.
As soon as your probe is inserted, your phone will display the internal temperature of the food and a real-time graph of temperature changes over time. You can watch the temperature rise as your food cooks and even monitor the ambient temperature of your oven or grill.
The app sends alerts when your desired target temperature is reached. You can set custom cook settings with target temps for rare, medium-rare, well-done, etc. For meat and poultry, use food-safe handling practices and monitor cooks closely for doneness.
The Meater Probe app unlocks a suite of smart cooking tools beyond just monitoring temperature. The Guided Cook System provides customized, step-by-step instructions for cooking various proteins perfectly.
You can even save your cooks for reference. The Meater Probe Cloud allows you to securely save cook data and access it from any device. For social cookouts, use the Meater Probe Link to connect up to four phones to one probe.
To prevent cross-contamination, wipe down the probe with a clean, damp cloth before insertion and after removal. Avoid submerging the exposed electronic ends in liquid.
After each use, clean the probe tip thoroughly with hot soapy water. Allow it to air dry fully before returning to the charging dock for storage. Take care not to drop the probe or expose it to extreme heat above 250°C.

Now that you know the basics, you’re ready to start improving your cooking results using your Meater Probe’s precision capabilities. Monitor your grill or oven temperature and adjust as needed for ideal cooking conditions. For thicker cuts, “carry-over cooking” will increase the internal temperature by 5-10°F after removal.
Experiment with custom target temps and cook times to match your cooking style. Share access to your probe so guests can watch the cook remotely. With your new smart wireless probe, you’ll be serving up perfectly cooked meats and wowing guests in no time!
While Meater Probe probes are designed for reliability, you may occasionally encounter technical issues. Here are some troubleshooting tips if your probe is not working properly:
With proper maintenance and care, your Meater Probe probe will deliver accurate results for many years. Here are some tips for keeping your probe in top working condition:
The wireless capability of the Meater Probe gives you cooking freedom, but you may occasionally encounter connection losses if the probe is too far from the phone/dock. Here are some range-extending tips:

One advantage of Meater Probe is the ability to monitor and adjust cooks for different cuts and meats. Here are probe placement and temp tips:
With experimentation and the real-time precision of your MeaterProbe probe, you’ll be able to master cooking any type of meat to your exact taste and specifications. Enjoy your new wireless smart thermometer!