
How To Enhance Your DIY Meat Probe with Voice Control Features
Every culinary enthusiast knows the importance of a perfectly cooked steak, and that’s where a meat probe comes in handy. But what if we could
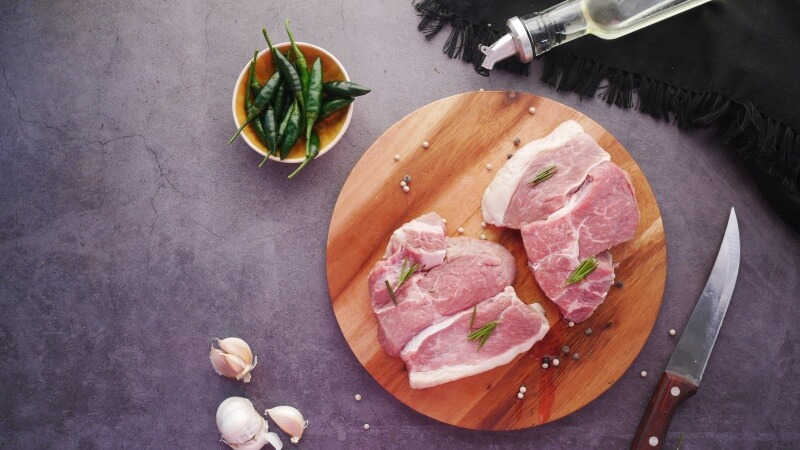
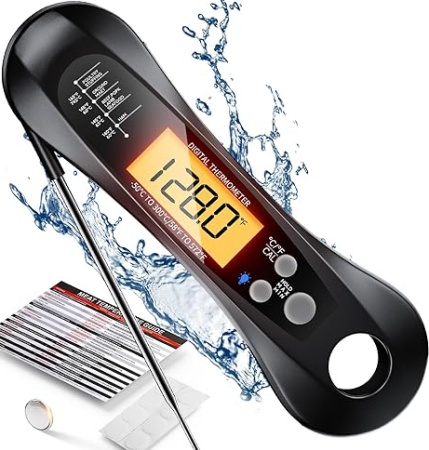
A meat probe is a vital tool for any culinary enthusiast, but cleaning it can sometimes lead to unexpected challenges.
Whether it’s stubborn stains or accidental damage, proper maintenance is key. This guide dives into common cleaning issues and provides practical solutions to keep your meat probe functioning flawlessly.
Even the most diligent chefs can face challenges when cleaning their meat probe. Understanding these issues is the first step toward resolving them effectively.
Water stains and residue on your meat probe often result from improper cleaning or drying techniques. Hard water can leave behind minerals, while soapy residue might occur if not rinsed properly.
These issues, though minor, can affect the probe’s appearance and potentially its performance. To avoid this, always use distilled or filtered water for cleaning, especially in areas with hard water.
After cleaning with a mild detergent, rinse the probe under running water for at least 30 seconds to ensure all soap is removed. Dry the probe immediately with a soft, lint-free cloth, paying close attention to any nooks and crannies where water might accumulate.
Using harsh cleaning tools or methods can lead to damage or deformation of your meat probe. Aggressive scrubbing or bending during cleaning can misshape the probe, affecting its accuracy. It’s crucial to handle your probe with care to avoid such issues.
When cleaning, use only soft cloths or sponges. Avoid bending the probe or applying excessive force, especially near the tip or the junction where the probe meets the handle.
If your probe is slightly bent, you can try gently realigning it, but be cautious. If the probe appears significantly bent or the damage seems beyond simple fixes, it’s safer to seek professional advice or consider a replacement.
Addressing Water Stains and Residue
Repairing Damage or Deformation
Rust can be a significant issue for meat probes, especially if not properly maintained. Let’s explore how to tackle rust effectively.
For initial rust removal, mix a paste of baking soda and water and apply it to the rusted areas. Let it sit for a few minutes, then gently scrub with a soft-bristled brush or cloth. Rinse thoroughly with water and dry immediately. This method is gentle yet effective for mild rust.
Baking soda acts as a mild abrasive, helping to lift rust without scratching the metal surface. For more comprehensive cleaning, you can also use a toothbrush to gently scrub the rusted areas, especially if they are in hard-to-reach spots.
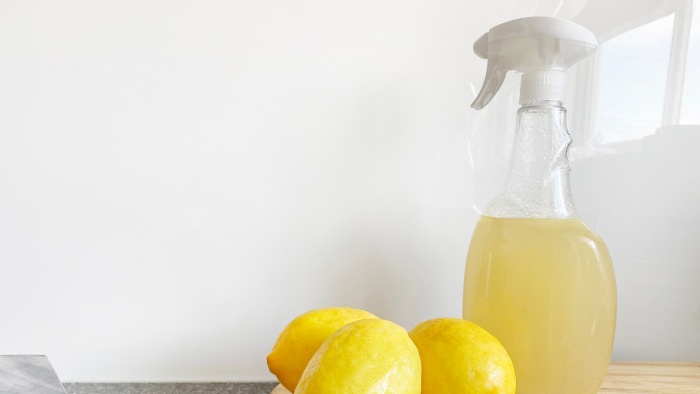
For more stubborn rust, soak a cloth in white vinegar and wrap it around the rusted area. Leave it for a few hours, then gently scrub the rust away.
Vinegar is a mild acid that can break down rust without damaging the metal. Always rinse and dry the probe thoroughly after this treatment.
If the rust persists, repeating the process may be necessary.
For severe rust, a commercial rust remover can be used, but ensure it’s safe for food-contact surfaces. After rust removal, protect the cleaned area with a thin layer of food-grade mineral oil to prevent future rusting.

Taking proactive steps can prevent future cleaning issues with your meat probe. Here’s how.
To prevent future problems, clean your meat probe with appropriate tools and materials. Avoid abrasive scrubbers and harsh chemicals. Store the probe in a dry, cool place, away from moisture, to prevent rust and other issues. Using a protective case or cover can also safeguard the probe from environmental factors.
After each use, clean the probe immediately to prevent any residue from drying and becoming more difficult to remove. Regular maintenance checks, including inspecting for any loose parts or damage, can also prevent issues from escalating.
Select non-abrasive cleaning tools such as soft cloths or sponges. Use mild detergents and ensure thorough rinsing and drying to prevent residue and water stains. Avoid submerging the electronic parts of the probe in water, as this can cause damage.
If the probe has a removable battery, take it out before cleaning to prevent any moisture from entering the battery compartment. Additionally, consider using a silicone spray or lubricant on moving parts to keep them functioning smoothly.
Sometimes, a meat probe may require professional attention. Knowing when to seek help is crucial.
If your meat probe continues to malfunction despite your troubleshooting efforts, it may need professional repair or replacement. Signs include persistent inaccuracies in temperature readings, physical damage that can’t be repaired at home, and severe rust that affects the probe’s functionality. If the display is not working correctly or if there are issues with the probe’s response time, these might also indicate the need for professional assessment.
When seeking professional help, look for reputable repair services or consult the manufacturer. If replacing the probe, consider a model with a robust design and rust-resistant materials for longevity.
Read reviews and consider the probe’s features to ensure it meets your cooking needs. Look for features like water resistance, durability, and ease of use. A good warranty can also provide peace of mind, ensuring that you’re covered in case of future issues.
Troubleshooting cleaning issues with your meat probe doesn’t have to be a daunting task. With the right techniques and regular maintenance, you can ensure its longevity and reliability.
Using a well-cared-for meat probe is an essential tool for any culinary enthusiast, helping you achieve perfect cooking results every time. Remember, a clean and well-maintained meat probe is key to culinary success!