How To Enhance Your DIY Meat Probe with Voice Control Features
Every culinary enthusiast knows the importance of a perfectly cooked steak, and that’s where a meat probe comes in handy. But what if we could
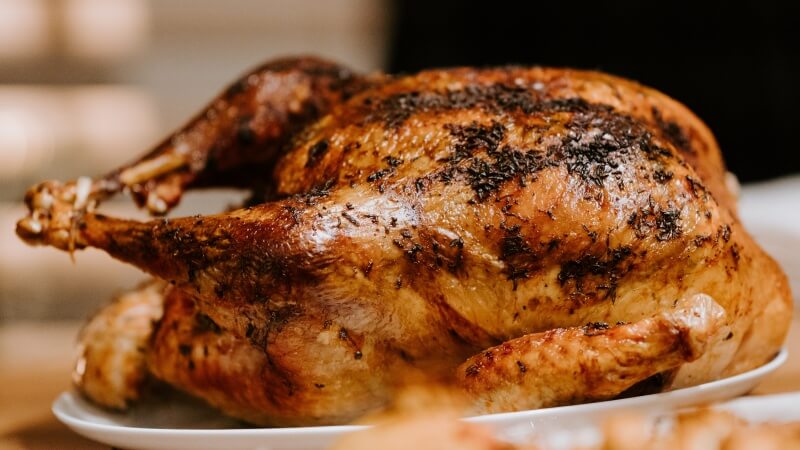
Discovering how to use a meat thermometer was a big “aha” moment for me in cooking. Ever since I learned this skill, my steaks, roasts, and burgers always turn out just right. And it’s not only for beef – any meat tastes much better when you take a moment to check its temperature while cooking.
A meat thermometer is the only surefire way to ensure your meat is cooked to the correct temperature and safe enough to eat by eliminating harmful bacteria like Salmonella and E. Coli.
Remember, beef keeps cooking for about 10 minutes after you take it off the heat, so letting it rest is crucial. I prefer removing it 10 degrees before it reaches my desired temperature. This allows the juices to evenly spread, preventing the meat from becoming overcooked.
Determining your ideal cooking temperature is a bit like finding your preferred sleep number. For steak, mine is 137 degrees, and after 10 minutes of rest, it’s a perfect medium rare – everything feels just right!
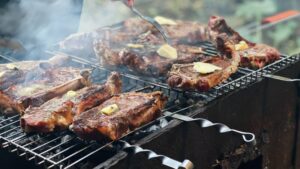
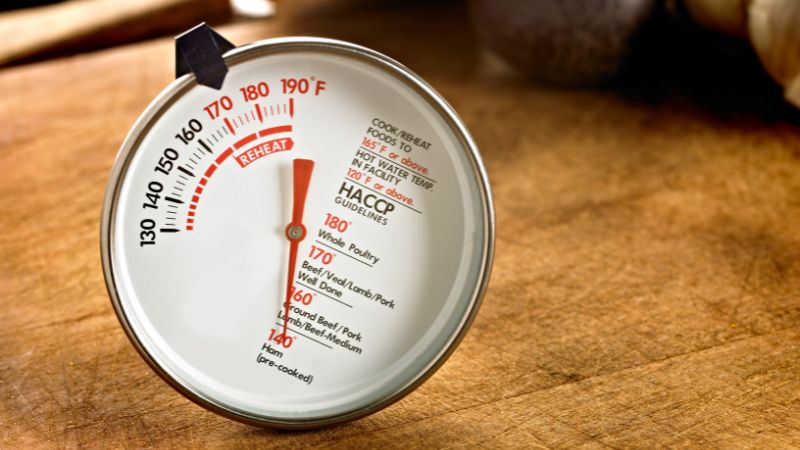
Use a thermometer to check temperatures. Cook until reaching the internal temperatures listed below in degrees Fahrenheit.
| FRESH MEATS | |
| Ground meats (veal, beef, lamb, pork, deer, moose, elk or caribou) |
160°F |
| Fresh beef, veal, lamb, pork, deer, moose, elk or caribou steaks, chops and roasts | |
| recommended minimum temperature | 145°F |
| medium | 160°F |
| well done | 170°F |
| Leftover cooked meats | 165°F or safe to eat cold if properly cooled and stored |
| POULTRY and GAME BIRDS | |
| Ground chicken and turkey | 165°F |
| Whole chicken, turkey, duck and goose | 165°F |
| Poultry breasts and roasts; thighs and wings | 165°F |
| Casseroles, all stuffing, and reheated leftovers | 165°F |
| Fully-cooked poultry | 165°F or safe to eat cold if properly cooled and stored |
| FISH AND SHELLFISH | |
| Fish and shellfish, any type | 145°F |
| RABBIT | |
| Rabbit | 160°F |
| HAM | |
| Fresh (raw) ham or shoulder | 160°F |
| To reheat the pre-cooked ham | 140°F |
| EGGS AND EGG DISHES | |
| Eggs | Cook until yolk and white are firm |
| Egg dishes; egg-based sauces and custards | 160°F |
Note: When cooking meat or eggs at home, remember these crucial temperatures: Cook eggs and all ground meats to 160°F, poultry and fowl to 165°F, and fresh meat steaks, chops, and roasts to 145°F.
Ensure your thermometer is meant for meat and poultry, not for candy or other foods.
There are three types of meat thermometers available, each with its advantages and recommended uses. Here are some common types:
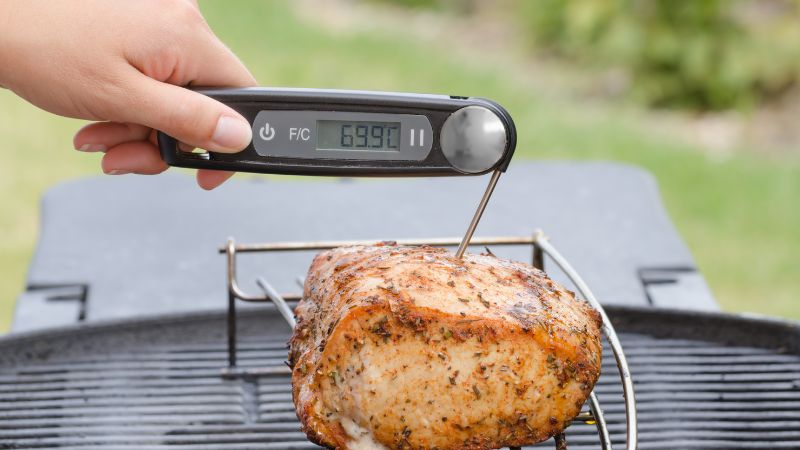
These digital thermometers give a quick temperature reading within a few seconds.
They’re great for checking if meats are cooked to perfection. Just insert the probe into the thickest part of the meat for an accurate reading.
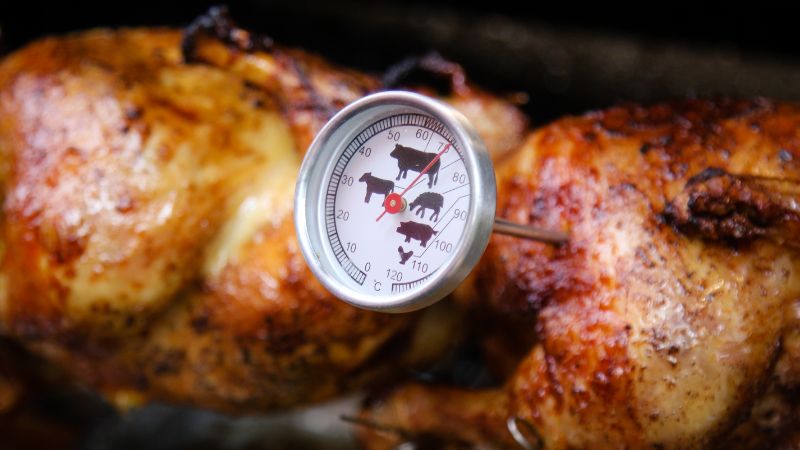
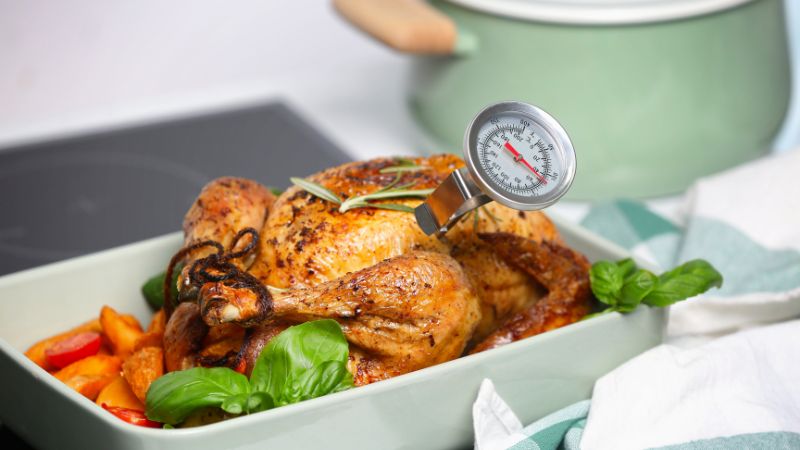
These thermometers are designed to stay in the meat while it cooks.
They have a dial display and are safe to use in the oven. For roasts and other large cuts of meat that require longer cooking times. Place the thermometer in the meat before cooking and leave it in the oven until the desired temperature is reached.
These thermometers come with a metal probe and can connect to a smartphone or another device via Bluetooth or Wi-Fi. Users can monitor the temperature from a distance.
Insert the probe into the meat to monitor the internal temperature during cooking. Useful when you need to monitor the cooking progress without being right there.
wireless meat thermometer is the easiest to use, with 1-2s accurate and fast temperature measurement.
Once you’ve got the right meat thermometer, let’s go through some easy steps for how to properly use a meat thermometer to make sure your meat turns out just right every time:
Take a glass, fill it with ice and cold water, give it a good stir, and then put your thermometer probe in there. If it reads 32ºF, it’s working correctly. If not, you need to adjust it.
A lot of digital thermometers have a reset or recalibrate button, so if the temperature is not right, you can probably fix it. The sooner you do that, the sooner you can get back to making perfectly cooked meat!
Stick the thermometer into the side of the meat for a good temperature check. The sensing part of thermometers is ½ inch to 2 inches long, so make sure it’s completely inside the thickest, central part of the food.
For a bigger roast, start checking your meat around 30 minutes before you expect it to be done. If it’s a thinner, smaller cut, begin testing the meat 5 to 10 minutes earlier. To achieve the right level of doneness, target the meat temperature specified in your recipe and follow a food-safety chat.
Remember that meat keeps cooking even after you take it off the heat — this is known as carryover cooking. It’s not a big deal with smaller cuts like chicken pieces, steaks, and chops, but with large, thick roasts like beef, lamb, veal, pork loin, or big turkey breasts, remove them from the heat when they’re 5 degrees below their desired doneness temperature.
Let these larger cuts rest for 5 to 10 minutes, and the temperature will rise to perfection, allowing the juices to evenly spread through the meat.
If you found this article useful, you might also be interested in – How To Smoke Pork Ribs For Beginners: Ultimate Guide